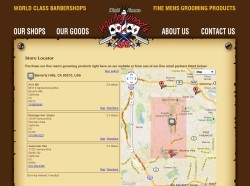

1. LocationsYou create a spreadsheet or CSV file of store locations (in the required format) and upload it. Alternatively you can link to SalesForce or a Google Sheet. The locations are then geocoded. If some locations cannot be geocoded you must edit the address and upload again. This tends to be the most time-consuming step. Adding, editing and deleting store locations can also be done directly online. |  |
2. SettingsYou configure your locator tool (there are over 120 different parameters you can change, controlling every aspect of the tool). Don't worry though, even if you keep the default options you'll still end up with a great store locator. Expert users can even define custom CSS. |  |
3. DeployYou deploy your locator tool using one (or more) of the many simple methods. Add it to your web page with a single line of code, create a pop up or lightbox, use it within Facebook or add it to a Joomla, Drupal or Wordpress site or... (it'll work in pretty much any website tool on the planet) |  |
Optional: If you turn on the Analytics setting every time a customer uses your store locator it gets recorded. You can then plot locator usage over time and spatially to reveal trends and gain valuable insight into customers. Easy, isn't it! Let's get started... | |