A lot of businesses have different types of stores and a common requirement for a store locator is to differentiate between these types using map icons.
For example you might want to visually identify flagship stores or preferred retailers with their own icon, to make them stand out.
This quick tutorial outlines three methods for having different icons based on two or more store types.
We define three types of store, each with its own map icon. The three methods are:
Method 1 - Defining icon groups and setting a store's Icon field

It's easy to assign different icons to different store types.
- Login to your Blipstar account.
- Go to Settings and click the "Icons" tab.
- Select "No" for the "Same icon for all stores?" setting.
- A DEFAULT icon is created which you can change. This icon is used as a fallback if a store does not have a valid Icon value
- Click on the "Add icon" button that appears.
- Enter the name of the first icon type/group (in our example "Extra").
- You can now upload an icon for "Extra", or choose from the Preset icons.
- Click on the "Add icon" button again, enter the second group name (in our example "Classic"), and upload an icon.
- Repeat this process to add as many icon groups as you require.
- Save your settings.
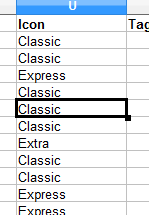
- Next, in your locations spreadsheet, create a column called "Icon" (Tip: it's already there if you've used the template).
- For each location add the relevant icon group name to its Icon field (e.g. "Express") so Blipstar knows what icon to use...
Note that any stores with no Icon field defined will use the default map icon. Also, if you don't want an icon displayed you can enter BLANK.
- Upload your spreadsheet.
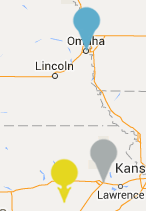
- Now, when you view your store locator you should see the different icons displayed on the map...
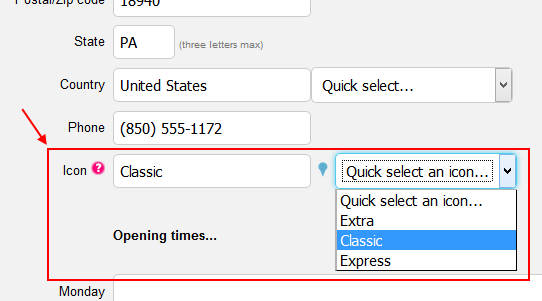
- Alternatively, if you define your stores manually (rather than with a spreadsheet) you'll notice when you Add or Edit a store the Icon field now has a drop-down menu with the Icon groups, allowing you to select the desired icon...
- Tip: If the Icon Key is turned on and you want to limit the icons shown in the key you can add a parameter to the URL called Iconkey, which lists the icon names separated by a , (comma). For example adding &iconkey=Classic,Extra to your Blipstar URL would only display the Classic and Extra icons in the key.
Method 2 - Defining icon groups and linking them to Tags
- Before you link Icons to Tags you first need to have defined your Tags. For more info on doing this check out the product filtering with tags tutorial.
- Login to your Blipstar account.
- Go to Settings and select the "Icons" tab.
- Set the "Same icon for all stores?" setting to "No".
- Hit the "Add icon" button.
- Enter the name of the first icon group ("Extra" in the example).
- Upload an icon for "Extra", or choose from the Preset examples.
- Repeat this process to add as many icon groups as you require.
- Click "Save" to store your settings.
- Select the "Tags" tab.
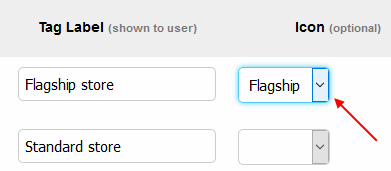
- You'll see a table outlining your currently defined Tags.
- For each Tag set its Icon field to one of the new Icon groups you created.
- "Save" your settings.
- If you define your stores manually (rather than with a spreadsheet) you can ignore the Icon field and just enter a value for the Tag field.
- When you view your locator you should see different icons based on a store's Tag value.
Tip: If a store has more than one Tag, the first Tag is used to determine which icon to show. Also, if a store's Icon field is defined that takes priority.
Method 3 - Externally referencing icons
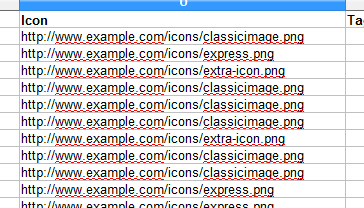
- In your data spreadsheet, create a column called "Icon" (if it's not already defined).
- For each location add a URL in the Icon field pointing to an image on the web (e.g. "http://www.example.com/icons/express.png")...
Or you can also enter a color instead of a URL. Recognized values are:
red, orange, yellow, green, lightgreen, blue, lightblue, cyan, purple, pink, brown, gray, black, white
- Upload your spreadsheet.
- When you view your locator you'll now see the different icon types displayed on the map - ta da!
We hope you found that easy to follow. If you weren't able to define different icons for your store locator let us know and we can help you out.


 Creating a custom search form widget
