

This simple guide explains how you can display your Blipstar store locator inside a Joomla 1.6.x or above (include Joomla 2.x and 3.x)) powered site. Basic knowledge of Joomla is assumed but it is very easy to do and should take less than five minutes to set up. The screenshots below show the key steps for adding a Google maps powered Blipstar store locator in the most recent versions of Joomla. The things you need to do are highlighted in pink.
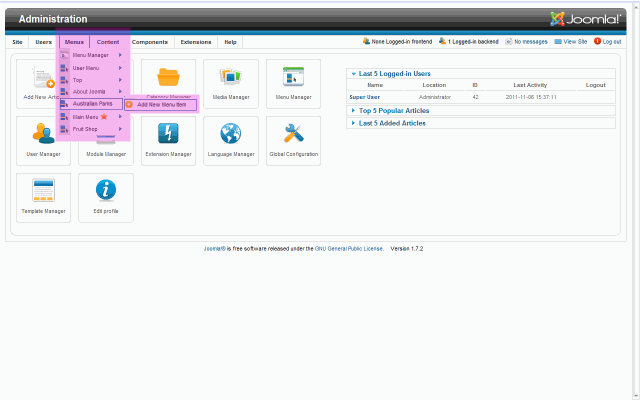
Step 1In Administration, select the Menu you want your locator added to and select Add New Menu Item (in this example the menu is called Australian Parks) |
 |
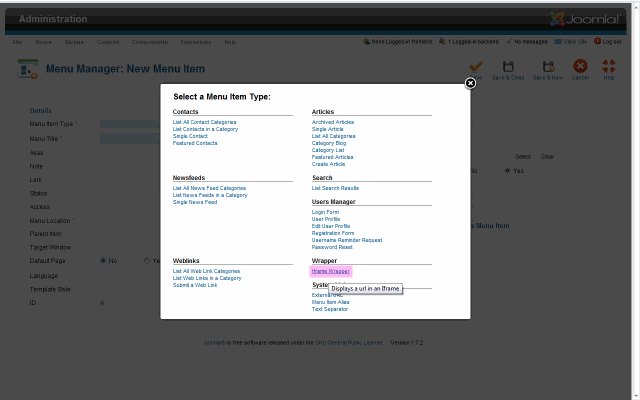
Step 2Choose the Iframe Wrapper item type |
 |
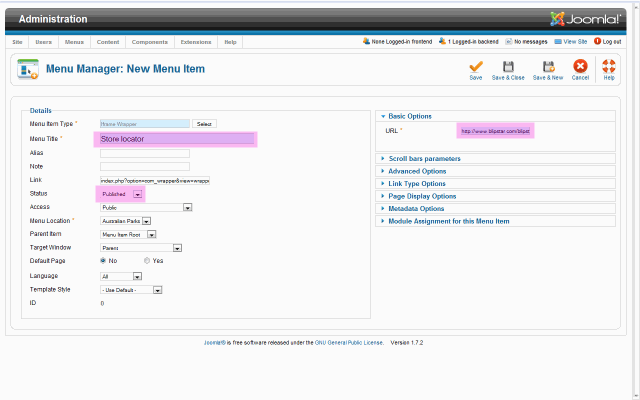
Step 3In Details enter a Menu Title and check the Status is set to Published.In Basic Options enter your unique Blipstar locator URL |
 |
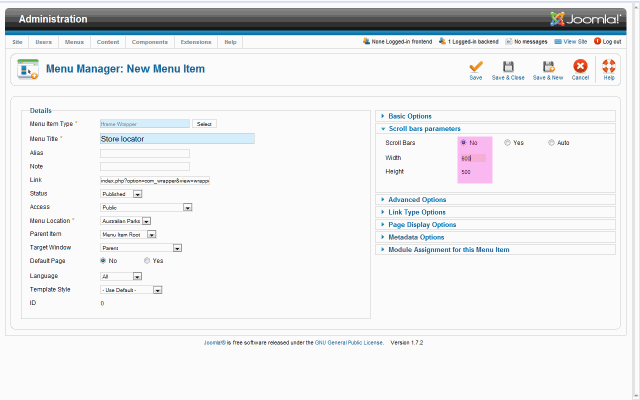
Step 4Select Scroll bars parameters, set the Scroll Bars value to No and enter the Width and Height values as recommended by Blipstar.Click Save & Close |
 |
Step 5On the site your locator should be available via the menu you chose |
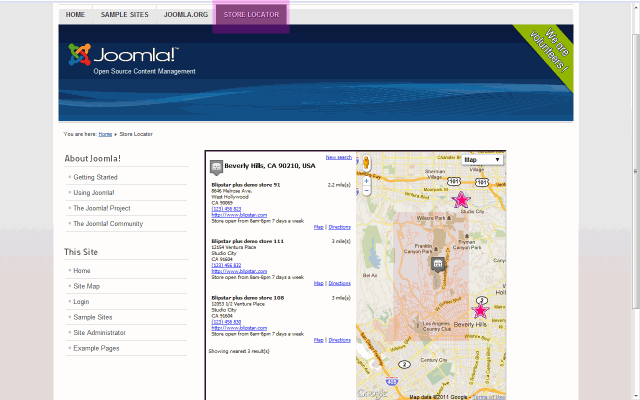 |
